
What’s the story Rory?
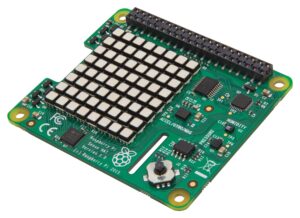
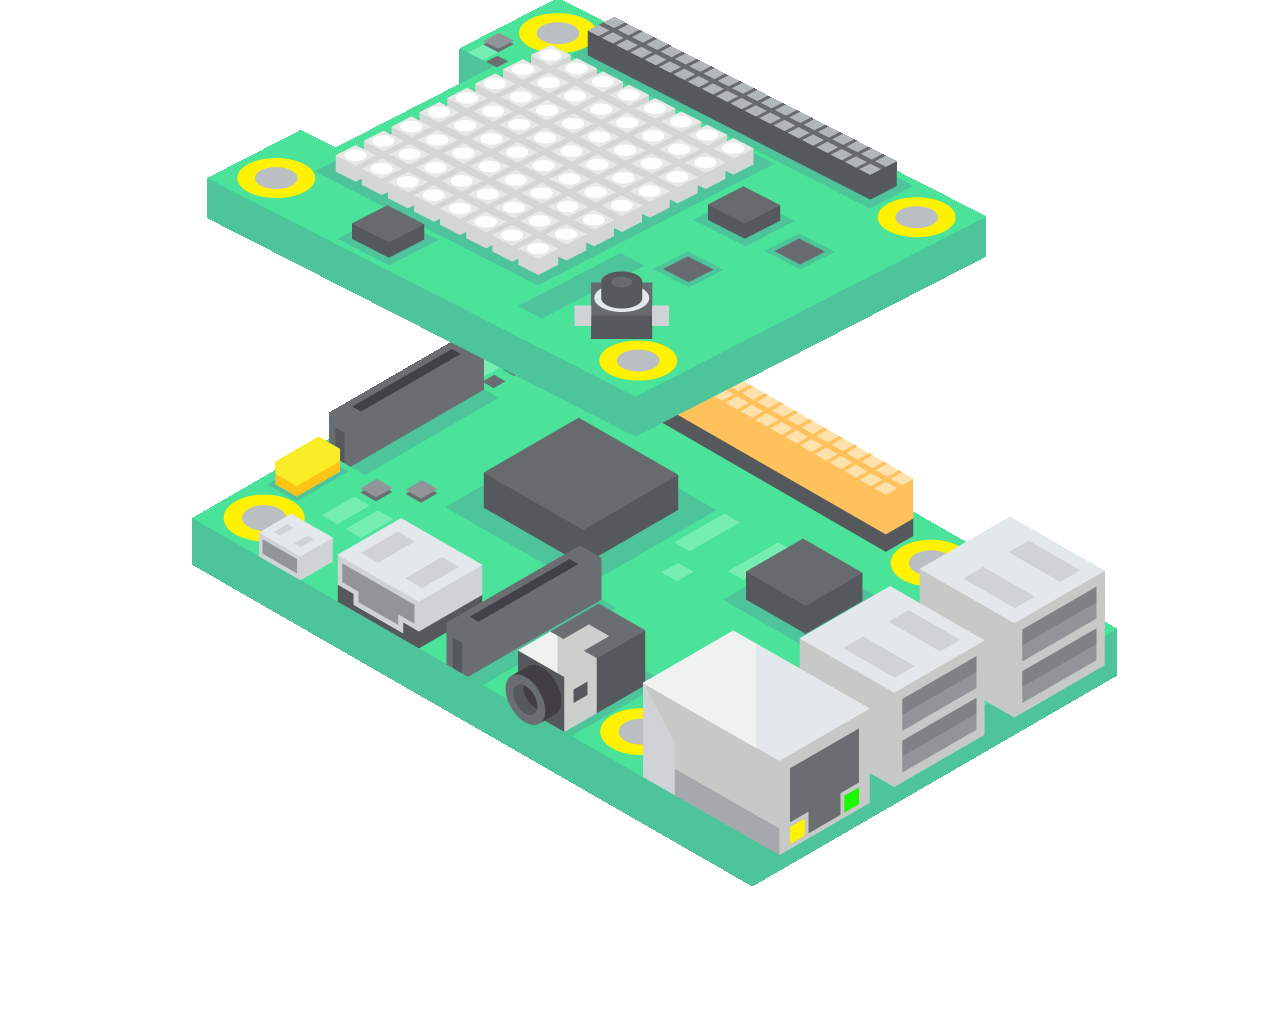
The Sense HAT is an add-on board for Raspberry Pi, made especially for the Astro Pi mission – it launched to the International Space Station in December 2015 – and is now available to buy. The Sense HAT has an 8×8 RGB LED matrix, a five-button joystick and
includes the following sensors: Gyroscope, Accelerometer, Magnetometer, Barometer, Temperature sensor and Relative Humidity sensor.
HAT stands for “Hardware attached on top”. It is a new hardware specification for add-one modules for the Raspberry Pi. HATs have several advantages compared to older add-on modules for the Raspberry Pi.
www.raspberrypi.org/products/sense-hat/
www.raspberrypi.org/blog/announcing-2017-18-astro-pi/
www.astro-pi.org/
Technical Specification:
Gyroscope – angular rate sensor: +/-245/500/2000dps
Accelerometer – Linear acceleration sensor: +/-2/4/8/16 g
Magnetometer – Magnetic Sensor: +/- 4/8/12/16 gauss
Barometer: 260 – 1260 hPa absolute range (accuracy depends on the temperature and pressure, +/- 0.1 hPa under normal conditions)
Temperature sensor (Temperature accurate to +/- 2 degC in the 0-65 degC range)
Relative Humidity sensor (accurate to +/- 4.5% in the 20-80%rH range, accurate to +/- 0.5 degC in 15-40 degC range)
8×8 LED matrix display
Small 5 button joystick
GPIO – https://pinout.xyz/pinout/sense_hat
Getting started with the Sense HAT
Getting the Sense HAT ready to use is quite simple. Turn off your Raspberry Pi and make sure your Raspbian SD card is inserted if it isn’t already. Place the Sense HAT on the GPIO pins, carefully aligning them before pressing down firmly so that it properly attaches to the Raspberry Pi. Once that’s done, turn the Raspberry Pi back on. If it’s attached properly, the LEDs on the SenseHAT will light up in a rainbow pattern during boot time. When it gets to the desktop, the pattern might turn off but that’s normal.
1 2 | sudo apt-get install sense-hat sudo pip-3.2 install pillow |
you’ll need to reboot the Raspberry Pi.
Now you are ready to try some examples; Finding magnetic North with Sense HAT | How To make Compass
1 2 3 4 5 6 7 8 | from sense_hat import SenseHat import time hat = SenseHat() while true: bearing = sense.get_compass() print ('bearing: {:.0f} to north' .format(bearing)) |
https://projects.raspberrypi.org/en/projects/getting-started-with-the-sense-hat
https://www.raspberrypi.org/documentation/hardware/sense-hat/README.md
book
https://www.raspberrypi.org/blog/experiment-with-the-sense-hat-in-the-new-magpi-essentials-book/
API’s
Python
https://pythonhosted.org/sense-hat/
NodeJS
https://www.npmjs.com/package/node-sense-hat
Scratch
https://www.raspberrypi.org/documentation/usage/scratch/gpio/README.md
node-red
https://www.npmjs.com/package/node-red-node-pi-sense-hat
Source code
https://github.com/RPi-Distro/python-sense-hat
Emulator
https://www.trinket.io/sense-hat
Java
https://github.com/cinci/rpi-sense-hat-java
Examples
https://github.com/RPi-Distro/python-sense-hat/blob/master/examples/README.md
https://codeclubprojects.org/en-GB/sense-hat/
I have some examples in my Github as well