
Story Horse?
The Raspberry Pi Zero support USB On The Go, given the processor, is connected directly to the USB port, unlike on the B, B+ or Pi 2 B, which goes via a USB hub.
Since there are so many who have experienced various problems with their Pi setup and connection I created the following steps that I used from Linux Ubuntu 16.04 with success.
With OTG mode, the process is like this:
- Format the SD card on your computer
- Tweak a few files on the SD card before ejecting it
- Plug the SD card into the Pi
- Plug the Raspberry Pi USB port into your computer
- Share Internet with the Raspberry pi device
- SSH to the Pi
- Continue any setup on the device
This is a huge improvement as we no longer need to plug in the HDMI monitor or keyboard for initial setup!
When you plug the Pi into your computer in the above example, it is emulating a virtual Ethernet device. Essentially, your computer thinks you plugged a network card into it.
Let’s go:
1 – Downloaded Raspbian Jessie Lite image from here:
https://www.raspberrypi.org/downloads/
2 – Copied image to Micro SDHC card via these instructions:
https://www.raspberrypi.org/documentation/installation/
1 | $ sudo dd bs=4M if=2017-04-10-raspbian-jessie.img of=/dev/sdb status=progress |
OR
1 | $ sudo unzip -p 2017-04-10-raspbian-jessie.zip | sudo dd of=/dev/sdX bs=4096 |
OR you can use Etcher https://etcher.io/
I recommend Etcher.io which will flash your SD card, in the same way, whichever of those Operating Systems you use on your PC/laptop.
3 – To help prevent Raspberry Pis around the globe from being hacked the RPi foundation have now disabled SSH on the default image. Just create a text file in /boot/ called ssh – it can be blank or you can type anything you want it.
To /boot add empty file: ssh
https://www.raspberrypi.org/documentation/remote-access/ssh/
To share internet from USB
To /boot/config.txt add line with: dtoverlay=dwc2
To /boot/cmdline.txt after rootwait add: modules-load=dwc2,g_ether
4 – Unmount sd card, put in Pi Zero, connect USB cable between Pi Zero power port and Linux computer.
5 – From Linux computer:
Open the nm-connection-editor (from the panel). Select Wired connection 2 (RasPi on USB) & click Edit. Under ‘IPv4 Setting’ set ‘Method’ = ‘Shared to other computers’.
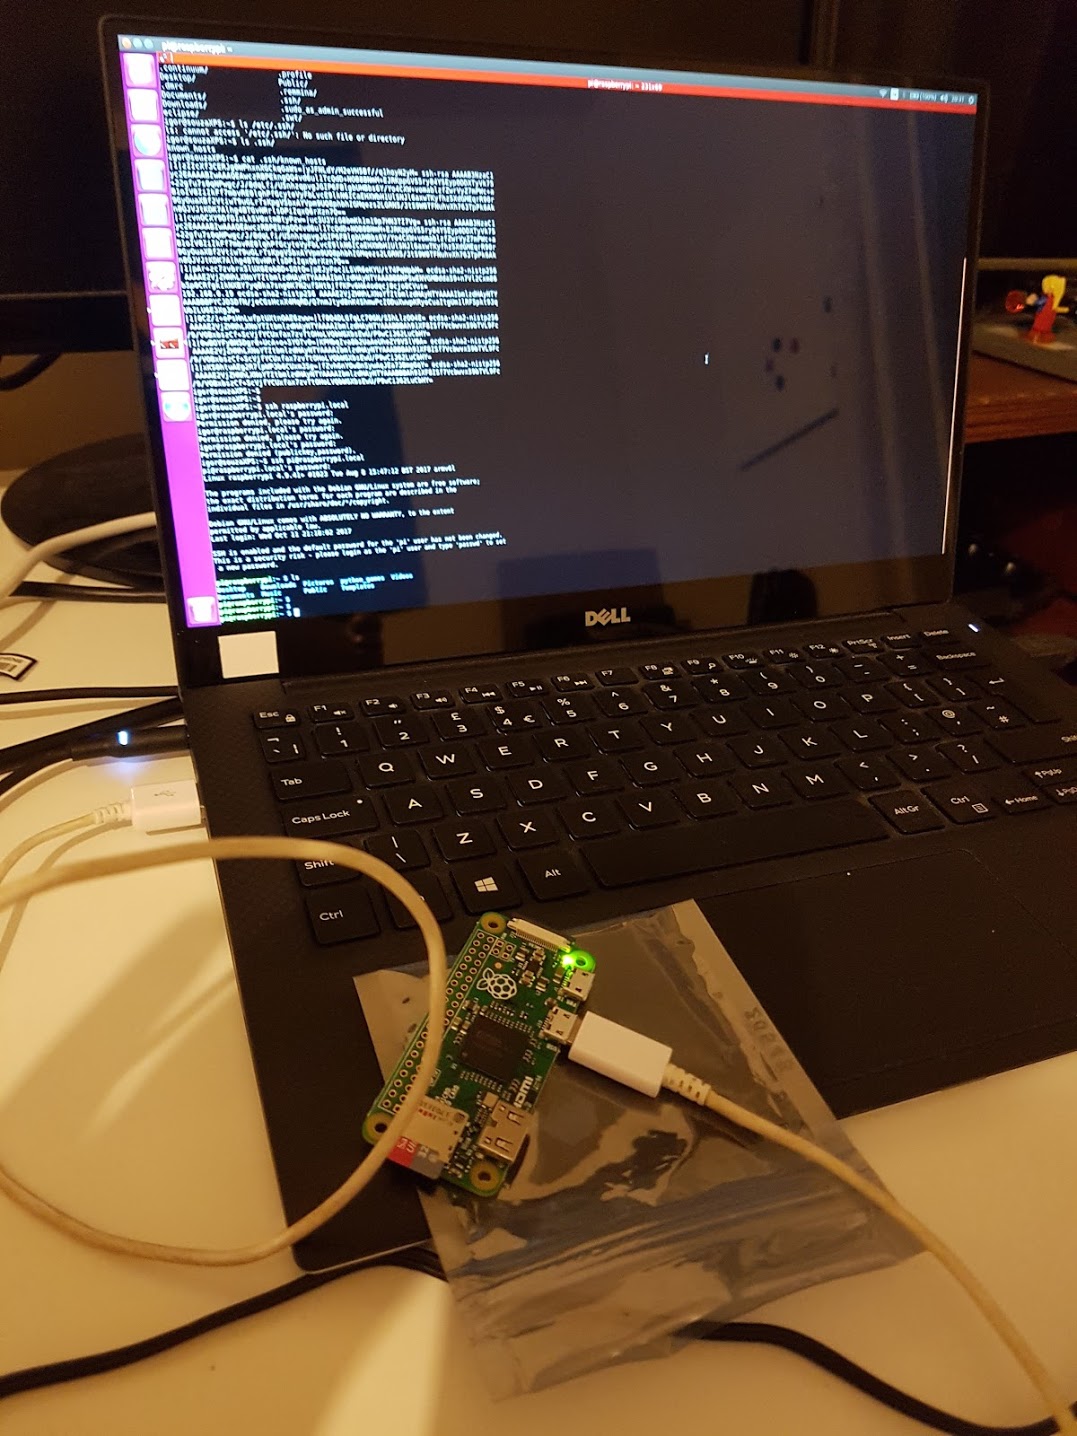
6 – SSH
1 | $ ssh pi@raspberrypi.local (password = raspberry) |
DONE!
Extras:
Once its booted you should now be able to open up the terminal, and using ping Raspberry pi.local you can see the RPi’s IP address.
Using this address in terminal type
1 | ssh pi@ |