

How’s the form?
After I wrote my motivation resolutions post I came with the idea that it is possible to do a lot of Raspberry Pi projects without a wait or by any new component.
“Invest your time before you invest your money and build something before you buy the component.”
Just create a virtual one.
For example, If you don’t have a 7 segment display you can follow this;
If you don’t have an 8×8 Led Matrix you can follow this and so on.
You can go ahead and use this idea to start your project without waiting more time and without buying anything.
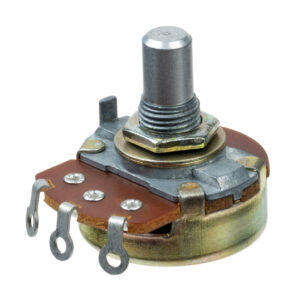
Today I want to show a way to play with a potentiometer.
From Wikipedia
A potentiometer is a three-terminal resistor with a sliding or rotating contact that forms an adjustable voltage divider. If only two terminals are used, one end and the wiper, it acts as a variable resistor or rheostat.
From Google
An instrument for measuring an electromotive force by balancing it against the potential difference produced by passing a known current through a known variable resistance.
From Youtube
And More
potentiometers basic principles
Idea
A simple web application that I can use as a potentiometer.
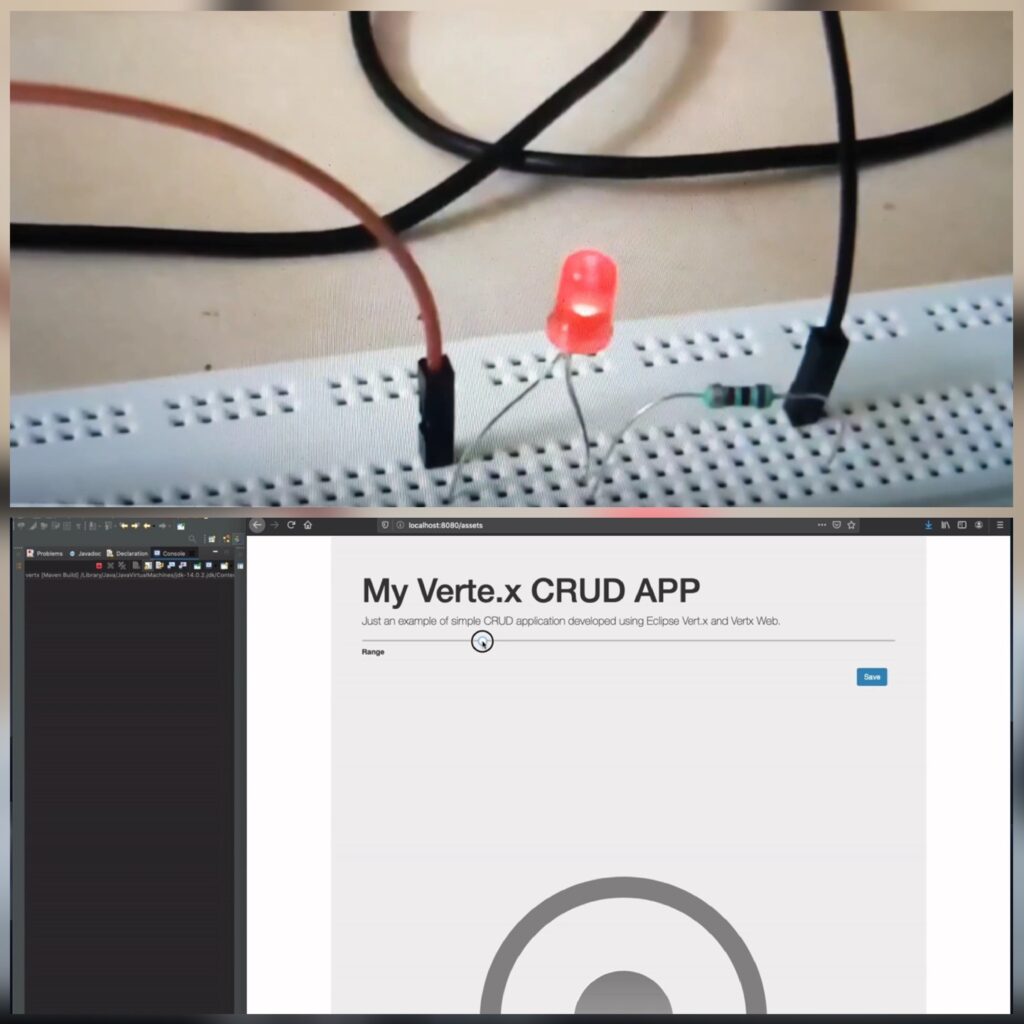
This time I decided to do it with Vert.X.
Vert.x is an open-source, reactive and polyglot software development toolkit from the developers of Eclipse. Vert.x is a tool-kit for building reactive applications on the JVM
It is called polyglot due to its support for multiple JVM and non-JVM languages like Java, Groovy, Ruby, Python, and JavaScript.
Being reactive, verticles remain dormant until they receive a message or event. Verticles communicate with each other through the event bus. The message can be anything from a string to a complex object. Message handling is ideally asynchronous, messages are queued to the event bus, and control is returned to the sender. Later it’s dequeued to the listening verticle. The response is sent using Future and callback methods and with that, I can create something that calls the REST several times in a sequence without care about the answer and with no blocks.
If I use setPwm(), my LED can be any value between 0 and 100, and using an input range will only call one time to change the value. This will jump the value from current to select and not will create a potentiometer style.
But I can add some CSS style and create a knob and simulate a real potentiometer. Now I can call my REST interface for each value and simulate a real use of a potentiometer.
I can combine this with my Duke robot and control the Duke’s arm.
I can combine it with my Christmas hats and create a nice fade effect.
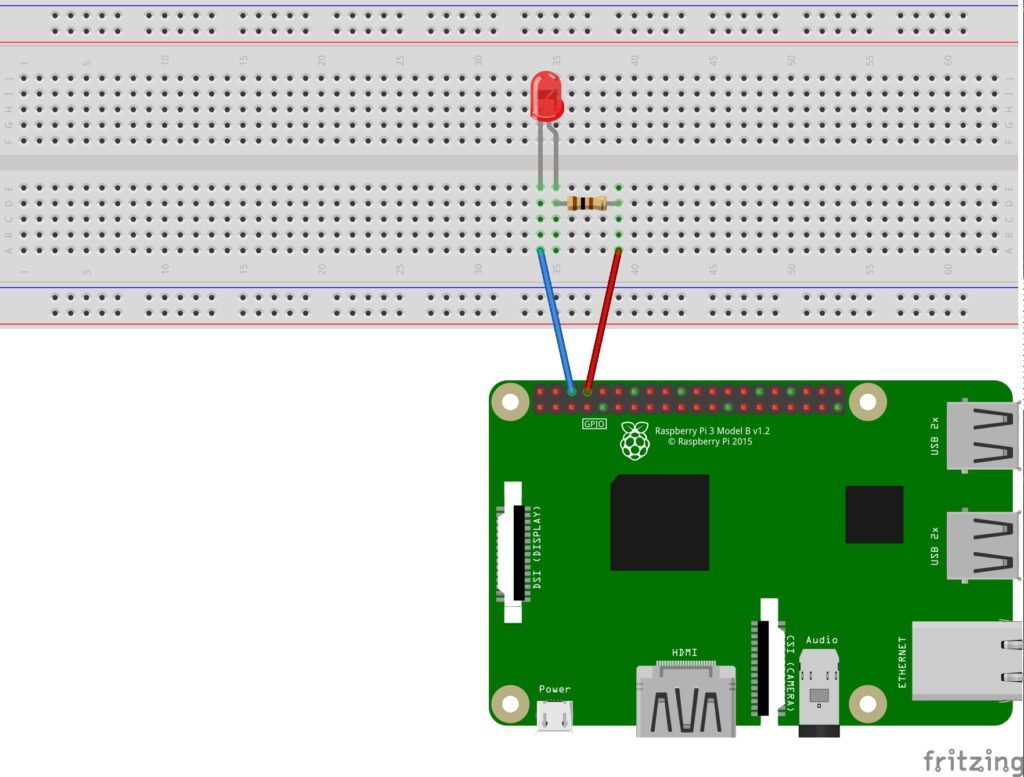
I can do a simple Led example.
Code
I just used the Vert.X web start hello world example.
1 2 3 4 5 6 7 8 9 10 11 12 13 14 15 16 17 18 | private void changePwmValue(RoutingContext routingContext) { String range = routingContext.pathParam("id"); System.out.println(range); //just to see calls final GpioController gpio = GpioFactory.getInstance(); Gpio.pwmSetMode(Gpio.PWM_MODE_MS); Gpio.pwmSetRange(100); Gpio.pwmSetClock(500); GpioPinPwmOutput led01 = gpio.provisionSoftPwmOutputPin(RaspiPin.GPIO_15, "LeftGreen"); led01.setPwm(Integer.parseInt(range)); routingContext.response() .putHeader("content-type", "application/json") .setStatusCode(200) .end(Json.encodePrettily(range)); } |
Disclaimer – I got the CSS from here
You can get the full code on my GitHub.
Links
https://github.com/eclipse-vertx/vert.x
https://passive-components.eu/resistors-potentiometers-basic-principles/